Installing an electric radiator may seem daunting, but with the right steps and precautions, it is straightforward and accessible to everyone. This practical guide walks you through the process to ensure a safe, efficient installation perfectly suited to your room.
The importance of a compliant and safe installation.
An incorrect installation can compromise safety, shorten the lifespan of your radiator and affect its thermal efficiency. It is therefore essential to observe the required safety distances and electrical requirements set out in the electrical standard NFC 15-100.1.
Choosing the ideal location for your radiator
To ensure the safety and correct operation of your electric radiator, it is essential to choose a suitable position:
- Position the radiator at least 25cm from the floor to optimise the operation of the sensor
- Leave 30cm of clearance above for good heat circulation
- Do not install the appliance in a draught that could interfere with its regulation
- Do not place the appliance near obstacles that restrict air circulation around it

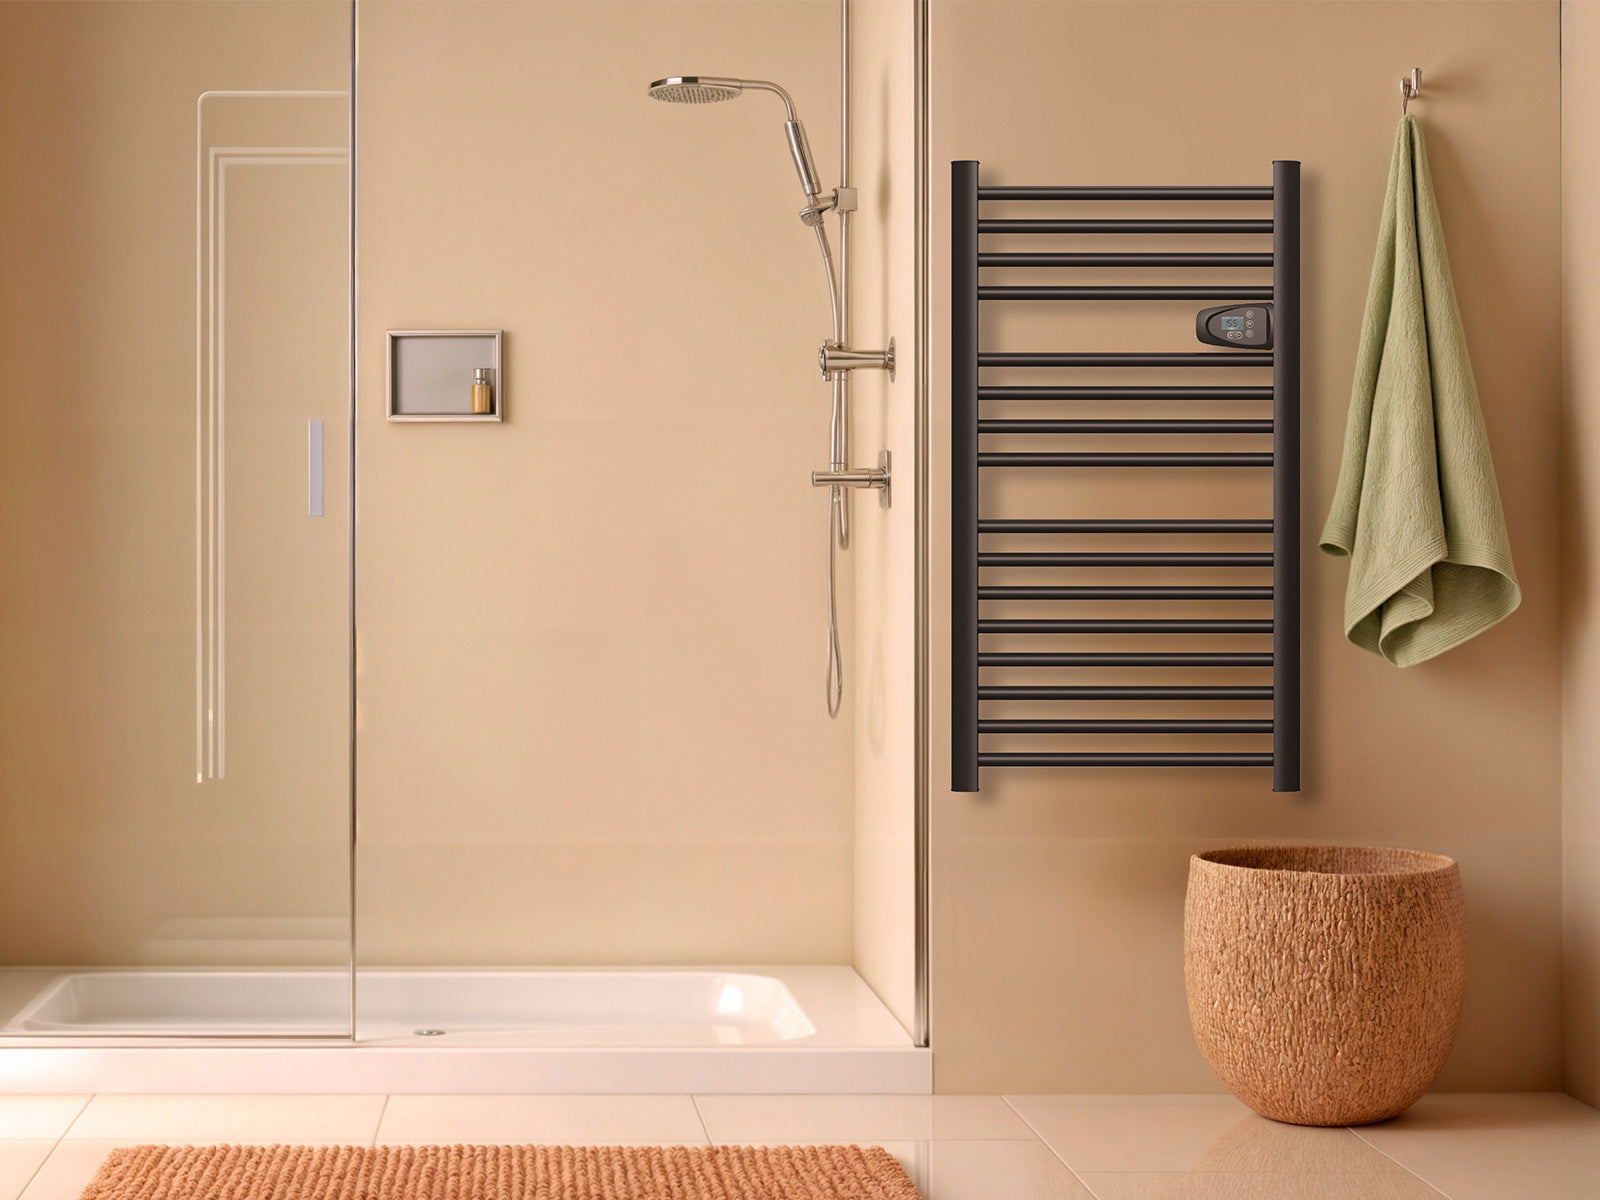
All Bestherm radiators are suitable for bathroom use thanks to their Class II rating (double insulation) and IP24 protection index, guaranteeing optimal resistance to water splashes.
- If the radiator is being installed in a bathroom, maintain a minimum distance of 60cm from any water source, in accordance with electrical standard NFC 15-100.
2. Fixing the electric radiator to the wall
Once the position has been decided, all that remains is to fix the electric radiator to the wall before proceeding to the electrical connection.
- Prepare the wall bracket: loosen the screws and remove the bracket by pulling it downwards
- Fix the bracket: check it is level using a spirit level, mark the 4 fixing holes, drill, insert the wall plugs and screw the bracket firmly to the wall
- Install the radiator: place it on the bracket hooks and pull it downwards
- Secure the installation: push the metal plates into the holes and tighten the screws to secure the radiator
💡 Bestherm's advice: Take your time with each step — this guarantees a stable and safe installation.
3. How to connect your electric radiator
An electric radiator must never be plugged into a standard wall socket. It must be connected directly to a secure cable outlet, in accordance with electrical standard NFC 15-100.
Before making the connection, it is essential to observe the following instructions:
- Switch off the power at the main circuit breaker
- Use a 3-core cable with the following colour codes:
- Blue (or light grey):
- NeutralBrown (or red): Phase
- Black: Pilot wire (optional, for scheduling)
- Connect via a wall-mounted junction box — never via an electrical socket
- Protect the circuit with a 30mA RCD (residual current device)
- Never connect the pilot wire to ground, and insulate it if not in use

💡 Bestherm's advice: If in any doubt, contact a qualified electrician.
4. Video tutorial: install your radiator with ease
To guide you through the process step by step, we have produced a practical video tutorial. You will discover:
- How to fix the wall bracket and hang the radiator
- Best practice for connecting the radiator safely
Watch the video and follow each step for a quick, safe and efficient installation — even if it is your first time.
💡Bestherm's advice: Keep the video open during installation so you can check each step in real time and make sure nothing is missed.
Need help installing your Bestherm radiator?
Do you have questions or would you like personalised assistance? Our customer service team is available at: service.clients@hom-y.fr
To ensure a compliant and safe installation, we recommend calling on a qualified professional electrician.