A ceiling fan is much more than just a decorative element. Well chosen and properly installed, it improves thermal comfort all year round: it cools effectively in summer, reduces the need for air conditioning, and even helps to distribute heat evenly in winter.
In this guide, we walk you through step by step to easily install your ceiling fan.
Why choose a ceiling fan?
Unlike floor or table fans, the ceiling fan ensures even air distribution throughout the room without taking up space. It operates quietly and consumes very little energy, making it both a comfortable and economical solution.
Its main advantage lies in its dual seasonal function. Indeed, it is generally reversible, allowing year-round use:
- In summer, the blades rotate counterclockwise to create a downward airflow, providing a pleasant cooling sensation.
- In winter, the rotation direction is reversed: the warm air accumulated at the ceiling is redistributed downward, thus improving thermal comfort without creating a direct draft.

What criteria to choose the right ceiling fan?
Compatibility with your room
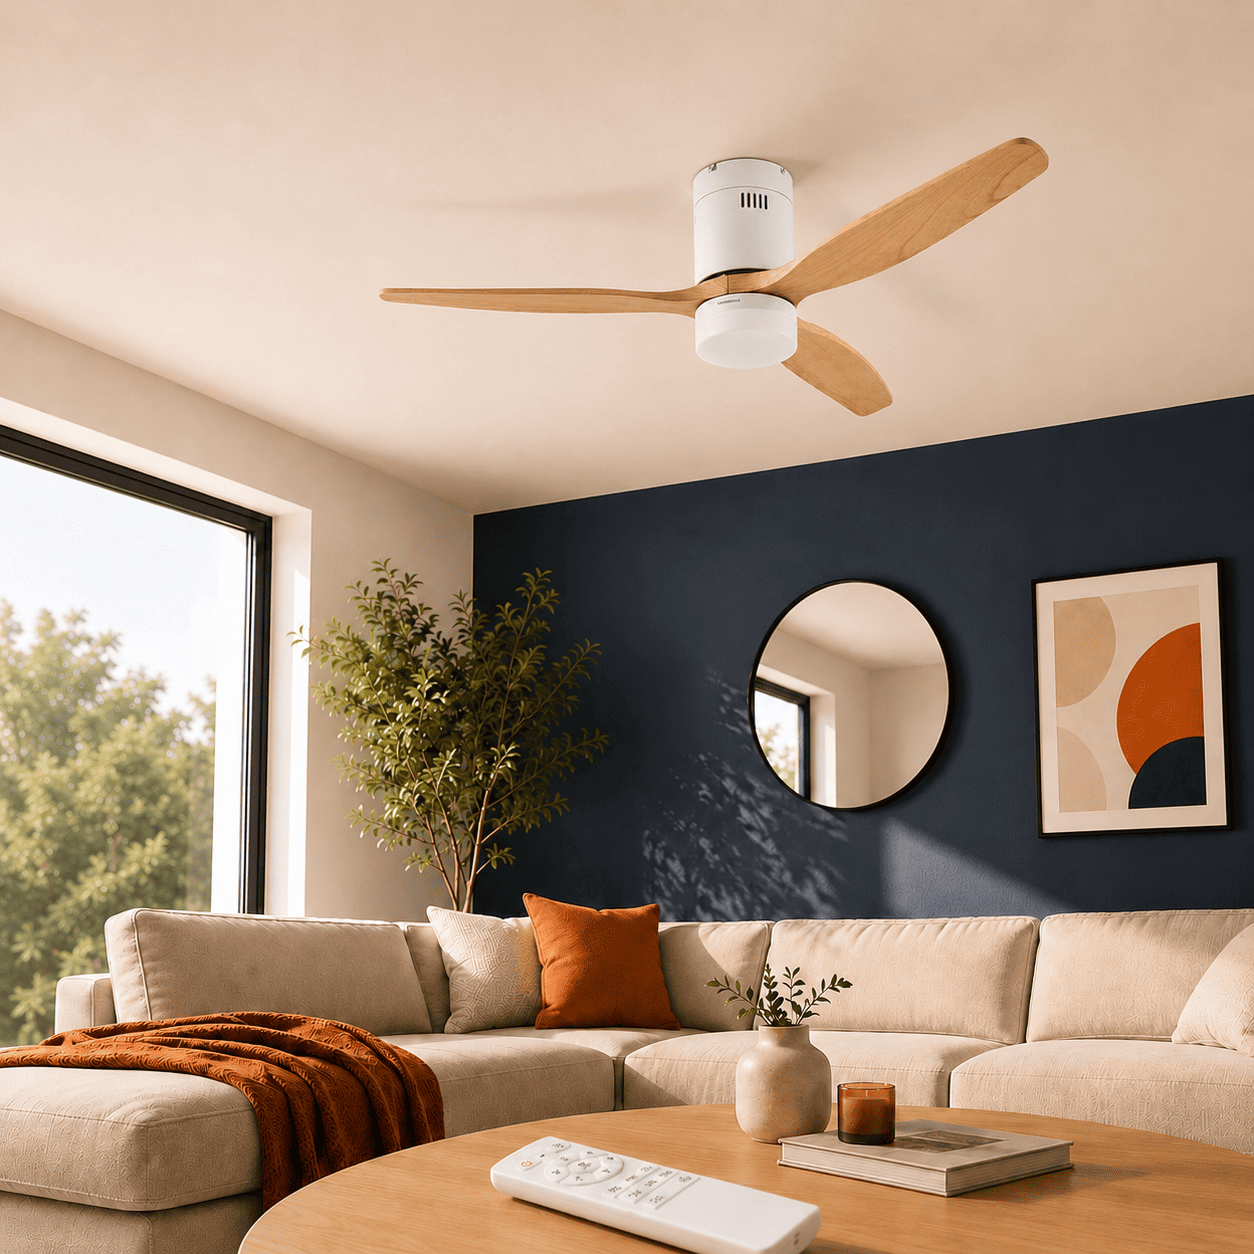
The ceiling fan must first and foremost be suited to your space and configuration. The model Ceiling fan with integrated LED, with its diameter of 132 cm (ø1320 mm), is designed to provide excellent air circulation in medium to large living spaces.
Ceiling height
For safety and comfort reasons, the blades should always be at least 2.3 meters above the floor.
- If your ceiling is low (less than 2.6 m), opt for an installation close to the ceiling without a suspension rod.
- For higher ceilings, an extension rod can be used to optimize air distribution.
It is also recommended to leave sufficient clearance around the device to ensure good air circulation.
The integrated lighting
The Thomson ceiling fan combines ventilation and lighting thanks to its integrated light source, rated E on the energy scale.
The remote control and practical functions
A full remote control greatly enhances daily comfort. The model offers several useful features:
- Speed adjustment (6 levels)
- Natural wind mode to simulate a gentle breeze
- Timer (1h, 4h, 8h)
- Delayed stop
- Rotation direction reversal (summer/winter)
- Silent mode to disable sound signals
Some advanced modes, such as anti-intrusion mode, even allow simulating presence at home by automatically turning on lights and ventilation at regular intervals.
Installation: what you need to know before starting
Electrical prerequisites
Installing a ceiling fan is an electrical task that requires some essential precautions:
- Always turn off the power at the main circuit breaker before any handling.
- The fan must be connected to a dedicated electrical circuit, protected by a double-pole circuit breaker, in accordance with current standards (NF C15-100 in France).
- The device must be powered through a residual current device (RCD) with a rated residual current not exceeding 30 mA.
- Never use a dimmer switch or wall speed controller with a ceiling fan: this poses a risk of electric shock and fire.
If you are not comfortable with electrical wiring, call a qualified electrician.
Necessary tools
For a standard installation, prepare:
- Phillips and flathead screwdrivers
- Wire stripper
- Electrical insulating tape
- A stable step ladder
Installation steps
1. Securing the suspension plate
Depending on the type of ceiling:
- Concrete ceiling: drill 2 holes at the designated spots on the plate, then insert 2 expansion plugs.
- Wooden ceiling: use 4 long self-tapping screws.
Pass the recessed wire and earth wire through the central hole of the plate before securing it.
2. Electrical connection: First connect the motor and lighting wires to the control unit (remote receiver), then proceed with the mains wiring:
| Wire | Login |
|---|---|
| Blue or light gray | N (Neutral 230 V) |
| Brown or red | L (Live 230 V) |
| Yellow/green | Protective earth |

3. Securing the fan body: Align the motor’s side holes with those on the mounting plate and secure using the provided screws.
4. Blade assembly: Install the three blades using a screwdriver, tightening the screws evenly and simultaneously to ensure overall balance.
5. Installing the lighting kit: Pass the light source cable through the panel hole, fix the panel, connect the LED, then insert and twist the lampshade to lock it in place.
6. Power on: Once all connections are checked, restore power to the circuit.
Blade balancing: a step often overlooked
A fan that vibrates or wobbles is not only annoying — it can also indicate an imbalance that, over time, strains the ceiling mount. The installation kit includes a balancing clip and adhesive weights to easily fix this:
- Run the fan at maximum speed to identify the wobble.
- Place the balancing clip at the center of each blade, one by one, to identify which one improves the behavior the most.
- Reposition the clip on this blade until you find the optimal point.
- Stick the adhesive counterweight here, on the central line of the blade.
Why choose a Thomson ceiling fan?
A ceiling fan must be efficient, quiet, and pleasant to look at every day. With this model, Thomson focuses on balancing ventilation performance, build quality, and refined design.
A high-performance and economical DC motor
This model is equipped with a DC motor, valued for its low energy consumption and quiet operation. It allows precise adjustment of the fan speed while limiting electricity costs.
The air is distributed more evenly throughout the room without creating excessive drafts, ensuring optimal comfort in both summer and winter.
Natural wood blades certified by FSC
The natural wood blades bring a warm touch to your interior. They are FSC (Forest Stewardship Council) * certified, ensuring that the wood used comes from responsibly managed forests.
Their shape has also been designed to promote good air circulation and improve thermal comfort throughout the year.
Careful finishes and a premium design
The finishes are refined and give the fan a more premium presence than an entry-level plastic model. Its contemporary design allows it to fit equally well in a living room, dining room, or bedroom.
This combination of integrated lighting, DC motor, and robust materials allows you to enjoy a reliable and comfortable device every day.
Maintenance: simple and hassle-free
The ceiling fan is a low-maintenance device:
- Dust the blades regularly with a soft cloth or soft brush, power off.
- Do not use solvents or harsh detergents; a slightly damp cloth is sufficient.
- No lubrication is needed: the bearings are sealed for life and ensure quiet operation over the long term.
FAQ – Everything you need to know about the Thomson ceiling fan
What area can a 132 cm ceiling fan cover?
With its 132 cm diameter, this Thomson ceiling fan is especially suited for rooms between 15 and 30 m².
Its diameter provides effective ventilation in a living room, distributing air evenly from the center to different areas of the room. It is perfectly suited for most family living spaces, such as a living room or dining room of about 15 to 30 m².
What is the noise level of a Thomson ceiling fan?
The DC motor limits vibrations and reduces noise, making this model particularly suitable for bedrooms and workspaces.
This technology is especially appreciated in bedrooms and workspaces where acoustic comfort is essential. Even at medium speed, it remains quiet enough to accompany daily activities without disturbing conversations or rest.
How does winter mode work?
When this function is activated, the blades rotate slowly clockwise to push cold air up and bring down the warm air accumulated near the ceiling.
Since warm air naturally tends to rise, the winter mode helps redistribute it more evenly throughout the room. This results in a more uniform temperature and better comfort. Heating can then operate more efficiently, helping to optimize the home's energy consumption.
In summary
Choosing a ceiling fan primarily means matching the diameter to the room size, ensuring sufficient ceiling height, and checking the control features. Installation, while doable by a skilled DIYer, requires strict electrical precautions: dedicated circuit, differential breaker, no dimmer. Once installed and balanced, it is a discreet, economical, and versatile device that improves daily comfort all year round.